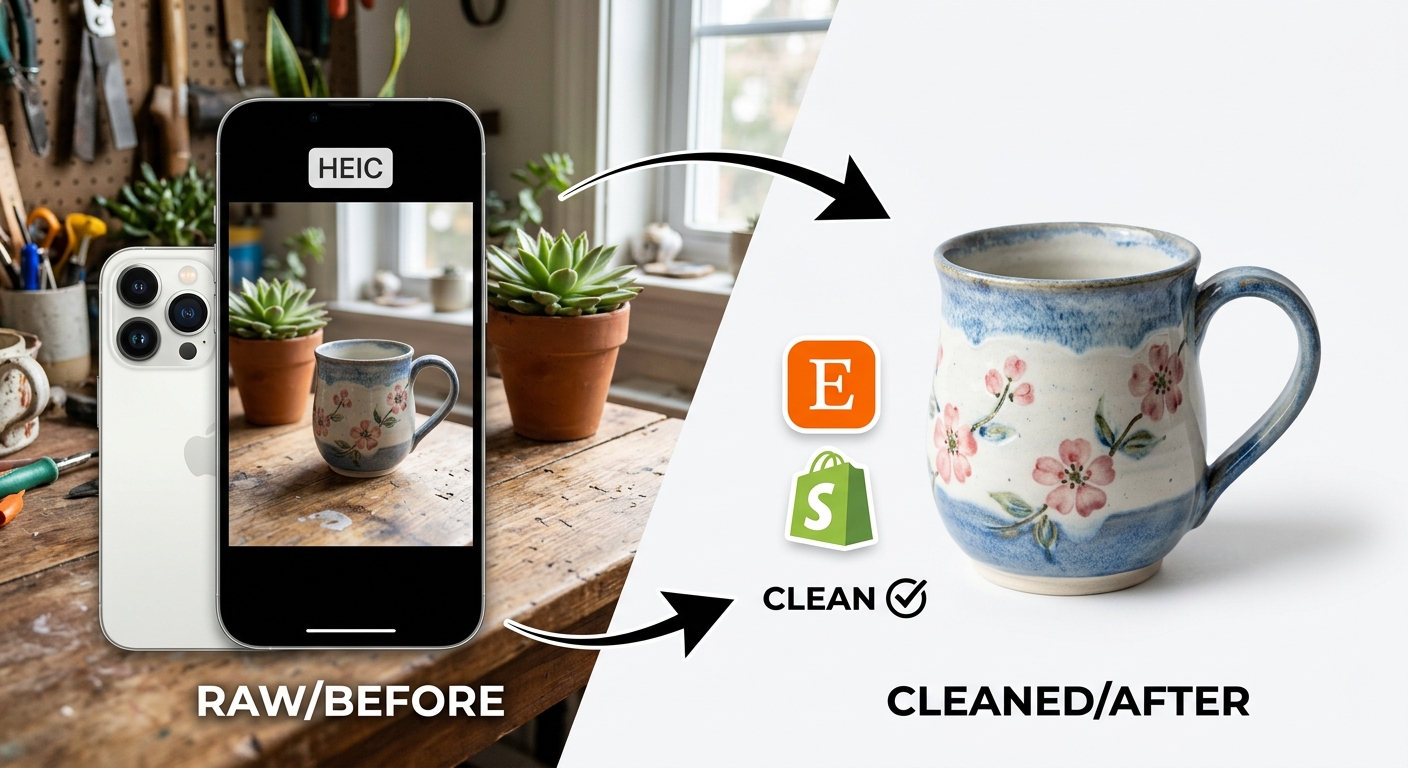
Your iPhone is quietly one of the best product cameras available to a small business owner. The issue most sellers run into is not the photo itself. It is the file that comes out of the camera. HEIC is Apple's default format, and while it is efficient for storage, it does not play nicely with the tools you need between the shot and the marketplace listing. A little preparation at the file stage makes every step after it faster and less frustrating.
The path from an iPhone photo to a marketplace-ready transparent PNG runs through four focused stages: file preparation, background removal, export, and upload.
- HEIC files can be oversized for browser-based editing tools, causing stalls or failures before processing even starts.
- Compressing your files before background removal keeps the workflow fast and reliable, especially across batches.
- Exporting as PNG is the only common web format that preserves a transparent background for e-commerce product listings.
Why the iPhone's Default Format Creates Problems for Sellers
Apple introduced HEIC as the standard camera format in 2017. The format is built on the HEIF standard, developed by the Moving Picture Experts Group to deliver high image quality at smaller file sizes than JPEG. That trade-off is ideal for phone storage. It is less useful for web tools, marketplaces, and editing software that expect more universal formats.
The real-world result is predictable. You shoot great product photos on your iPhone, you try to upload them to a background remover or to Etsy directly, and something breaks. You might see format errors, shifted colors, or a browser tab that just hangs. None of this is a camera problem. It is a file compatibility problem, and it has a repeatable fix.
Etsy accepts JPEG and PNG. Shopify recommends PNG for product images that need transparent backgrounds. HEIC sits outside both expectations. That means some file preparation belongs in your workflow before the editing step begins, and once you build it in, it takes about sixty seconds per batch.
Shooting with the Edit in Mind
The cleaner the original shot, the less work the background removal AI has to do. A few deliberate choices at shoot time make a visible difference in the quality of the final cutout.
Use a plain, solid backdrop. White foam board from a craft store costs a few dollars and gives AI tools a clean, high-contrast edge to work with. Natural side-lighting from a window separates the product from the surface without the flat shadows overhead lighting creates. Keep your product a short distance from the backdrop to prevent shadow fall-off from bleeding into the edge area.
These shooting habits consistently produce cleaner results:
- Shoot against a solid, single-color surface rather than fabric, wood grain, or carpet.
- Position your light source to one side rather than directly above.
- Leave a few inches between your product and the backdrop to keep edges crisp.
- Use Portrait mode for products with well-defined outlines, since it creates natural depth separation between subject and background.
- Keep the product centered with consistent margins on all sides, which makes batch processing far more uniform.
Preparing Your HEIC Files Before Editing Begins
This is the step most sellers skip. It is also the step that explains most of the frustration people report with browser-based editing tools.
iPhone Pro cameras can produce HEIC files in the range of 8 to 20 megabytes per shot. At that size, a batch of ten product photos can push browser-based tools past their processing limits. The tool may time out, return an error, or produce a result that looks correct but fails to download at the right resolution.
The practical fix is to compress HEIC images before you send them into any editing pipeline. Getting each file down to 1 to 3 megabytes keeps tools running without errors and makes batch sessions far more predictable. You do not lose visible quality at these sizes for product listing purposes, and the processing speed improvement is significant when you are handling a full product range.
If you want future shots to skip this step entirely, go to Settings, then Camera, then Formats, and select "Most Compatible." That switches new photos to JPEG at the camera level. For your existing library of HEIC files, compression is a cleaner route than full-format conversion because it preserves the original color profile and metadata.
Removing the Background with an AI Tool
Once your files are prepared and sized down, the background removal step is fast. Modern AI tools are trained on millions of product images and can accurately read product edges in a single pass. Upload your file to removebg.sh and the algorithm separates your product from whatever was behind it, outputting a transparent PNG in seconds.
Most standard product shots process cleanly without any manual touch-up. A mug on a white board, a necklace on grey paper, a folded t-shirt on a clean surface: the AI handles all of these reliably. Where results sometimes need a second pass is with reflective or glass products, items whose color blends closely with the background, and anything with fine, complex edges like jewelry chains, feathers, or mesh fabric.
For those cases, the tool's edge-refinement brushes let you paint back in any areas that got clipped and remove any background patches the AI missed. It takes less than a minute on most problem images and produces results that are far cleaner than trying to mask manually in a more complex editor. A translucent product sitting on a lightly tinted surface, pale grey or soft blue instead of white, also gives the AI a cleaner signal about where the product ends and the background begins.
Choosing the Right Format at Export Time
HEIC, JPEG, and PNG Compared for E-Commerce Product Listings
| Format | Transparency Support | Typical File Size | Platform Compatibility | Best Use Case |
|---|---|---|---|---|
| HEIC | No | 2 to 8 MB | Apple devices; limited elsewhere | On-device photo storage |
| JPEG | No | 0.5 to 3 MB | Universal | Lifestyle and context shots |
| PNG | Yes | 1 to 5 MB | Universal | Transparent product cutouts, logos |
PNG is the format you want for any product image with a transparent background. It stores an alpha channel, the data layer that tells a browser or marketplace platform which pixels are fully transparent, partially transparent, or opaque. JPEG has no equivalent. Save a transparent image as a JPEG and every clear area becomes solid white, which defeats the purpose of background removal entirely.
For dimensions, Shopify's product image specifications point to 2048 x 2048 pixels at a 1:1 square ratio as the recommended size for listings. Etsy's minimum is 2000 pixels on the longest side, and the platform strongly encourages square framing for the main listing image to avoid cropping in search results. Exporting at high resolution from the start means the platform can serve the image at any display size without quality loss, and you will not need to re-export a second round of files when you scale up your product range.
Uploading and Naming Your Way to Better Visibility
Both Etsy and Shopify accept PNG uploads directly through their standard product media tools. The transparent background you created renders cleanly on any page color because the platform fills transparent areas with its own background, which is usually white. Your product appears to float on the page rather than sitting inside a visible rectangular box, which is the hallmark look of professional product photography.
Etsy gives you up to ten photo slots per listing. The first slot determines what shoppers see in search results, so that position belongs to your best transparent cutout: product centered, well-lit, and clearly detailed. The remaining slots work well for styled lifestyle photos in JPEG, texture close-ups, and anything that gives a buyer a sense of scale or intended use.
On Shopify, the media manager accepts drag-and-drop PNG uploads and lets you reorder images after upload. If you sell the same item in multiple colors or sizes, you can tie specific images to each variant so the correct photo appears automatically when a customer makes a selection. That feature works best when all your variant photos share the same framing, lighting, and export settings, which is a natural output of batch-processing your entire product range in one session.
File naming is a detail that compounds quietly over time. IMG_3047.png tells a platform nothing useful. handmade-ceramic-bowl-terracotta-6inch.png is a genuine signal for image search and makes your own media library far easier to manage as inventory grows. Rename your exports before uploading. It takes under a minute per batch and costs nothing.
From Camera Roll to Shop Front: Closing the Gap
The distance between a casual iPhone photo and a professional-looking product listing is smaller than most sellers think. It is not a camera gap. Recent iPhone hardware is more than sufficient for marketplace-quality images. The gap is a workflow gap, and it closes once you have a reliable process for handling the file format, managing sizes, removing backgrounds, and exporting at the right specifications.
Shoot with contrast in mind. Prepare your HEIC files so they do not choke the tools downstream. Remove the background with an AI tool that handles the edge work efficiently. Export as PNG at sufficient resolution. Name your files before uploading. Run through this sequence once for a small batch of products and the next session takes half the time. By the third or fourth batch, it is routine.
Professional product images no longer require a studio, a photographer, or expensive software. Your phone, a sheet of white foam board, a window, and a good AI background tool produce results that compete directly with studio shots for a fraction of the cost and on a timeline that fits around the rest of running a small business.